How and When to Clean a Chicken Coop (Easy)
This post may contain affiliate links. Please read our disclosure policy.
This a step-by-step guide on how we maintain our chicken coop. Maintaining a clean, healthy environment for your chickens is crucial for their well-being. While there are various methods to care for a chicken coop, here’s the approach that has worked wonders for us.
Step 1: Knowing When to Clean the Coop
Cleaning your chicken coop is as much about observation as it is about routine. Here are the key signs that it’s time for a deep clean:
- Smell Test: If the coop starts to resemble a barn more than a cozy chicken home, it’s time for a cleaning. Chickens can get smelly quickly, but adding charcoal or ash to the bedding really helps combat the odor.
- Bedding Condition: When the straw or wood shavings lose their moisture-absorbing qualities, or when they become soggy and clumpy, it’s time to replace them with fresh bedding.
- Manure Build-up: If manure starts accumulating on the perches, nesting boxes, or the floor, it’s a sign that waste has built up and should be cleared out.
- Egg and Feather Issues: Dirty eggs or chickens showing signs of stress or feather loss can be indications that their living conditions need attention.
- Unwanted Guests: The presence of pests such as mites, lice, or flies signals that a thorough cleaning is needed to get rid of them.
- Routine Maintenance: Even if the above signs aren’t immediately noticeable, we recommend performing a full cleaning every 4 weeks. Light clean-ups—like removing manure—should be done every few days in high-traffic areas. A complete refresh every month keeps things in top shape.
Step 2: Cleaning the Coop
Once it’s time to clean, here’s the process we follow:
What you’ll need:
Food Grade Diatomaceous Earth Powder
- Prepare for Cleaning: Start by rolling out the wheelbarrow and removing all the old bedding and manure. We take it to the compost pile to reuse later as nutrient-rich material.
- Diatomaceous Earth: After clearing the coop, we sprinkle a generous amount of food-grade diatomaceous earth across the floor. This helps eliminate any bugs and mites safely. IMPORTANT: Make safety precautions when handling diatomaceous earth, as its fine particles can irritate the respiratory system. Be sure to wear a mask or respirator to prevent inhalation, and consider using gloves and goggles for added protection to safeguard your skin and eyes.
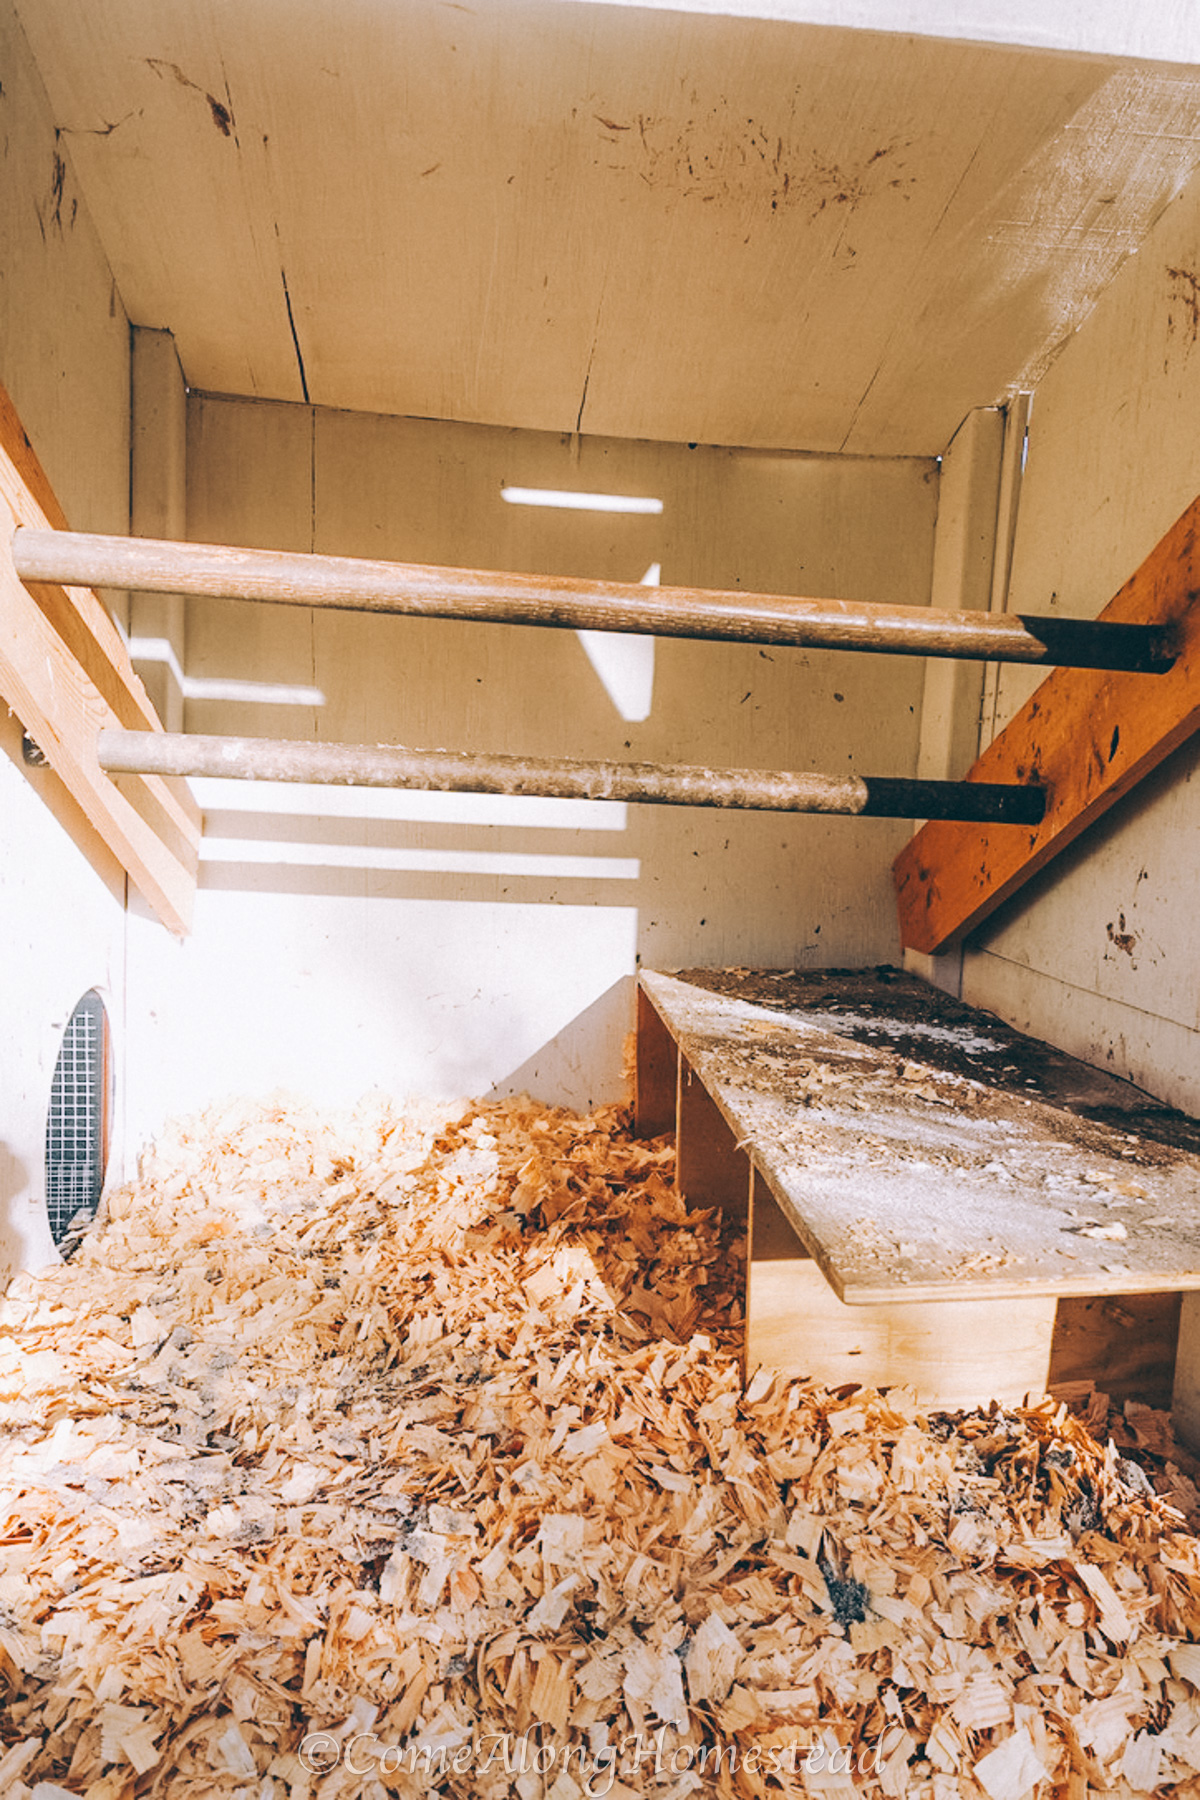
- Fresh Bedding: We lay down a fresh layer of wood chips to create a clean, dry base for the chickens.
- Sprinkle Charcoal: We add a layer of charcoal on top of the bedding. The charcoal absorbs odors and helps maintain a fresh environment for our flock.
- Ongoing Maintenance: Even after cleaning, the coop can start to smell again after a few days. To combat this, we sprinkle more wood ash and charcoal as needed. Over time, as the bedding compresses, we add more wood chips and charcoal. We also use fallen leaves from our property to supplement the bedding.
- Ventilation: Proper ventilation is essential for keeping the coop comfortable and healthy. On warm days, we open the vents to allow airflow. Even during the colder months, we may open the vents slightly to prevent the air from becoming too stale. At night, we always close the vents to retain warmth unless it’s an especially hot night, in which case, we leave them open for better air circulation.
- Dealing with Cracked Eggs: If an egg gets cracked shortly after cleaning, we simply clean the affected area and add new wood chips to that spot. This keeps the coop fresh without requiring a full cleaning.
Step 3: Light Daily Clean-ups
Certain areas, especially where the chickens tend to poop most, need a quick clean-up every couple of days. These small, regular clean-ups help prevent waste buildup and keep the coop comfortable between full cleanings. Simply scoop out the manure and refresh the bedding in those spots as needed.
Step 4: When to Clean Again
We typically perform a full cleaning every 4 weeks. The main indicators for another clean-up are a noticeable barnyard smell and dirty eggs. Once those happen, it’s clear the bedding needs a refresh.
Bonus Tip: Health Check
Cleaning your chicken coop is also the perfect time to perform a quick health check on your flock. Look for any signs of mites, lice, or injuries while you’re cleaning. This helps ensure your chickens remain healthy and comfortable in their space.
By following these steps, you’ll not only maintain a clean and odor-free coop but also create a healthier, happier environment for your chickens.