How To Make DIY Painted Stepping Stones
After seeing some of those amazing DIY stepping stones and trying (with mixed results) to make the classic concrete prints—which were difficult to set properly for defined impressions and took more time—I decided to try something different. I had an idea in mind, gave it a shot, and I couldn’t be happier with how it turned out.
Supplies You’ll Need
This post may contain affiliate links, which come at no extra cost to you. Please read my disclosure policy.
Step 1: Gather Your Supplies
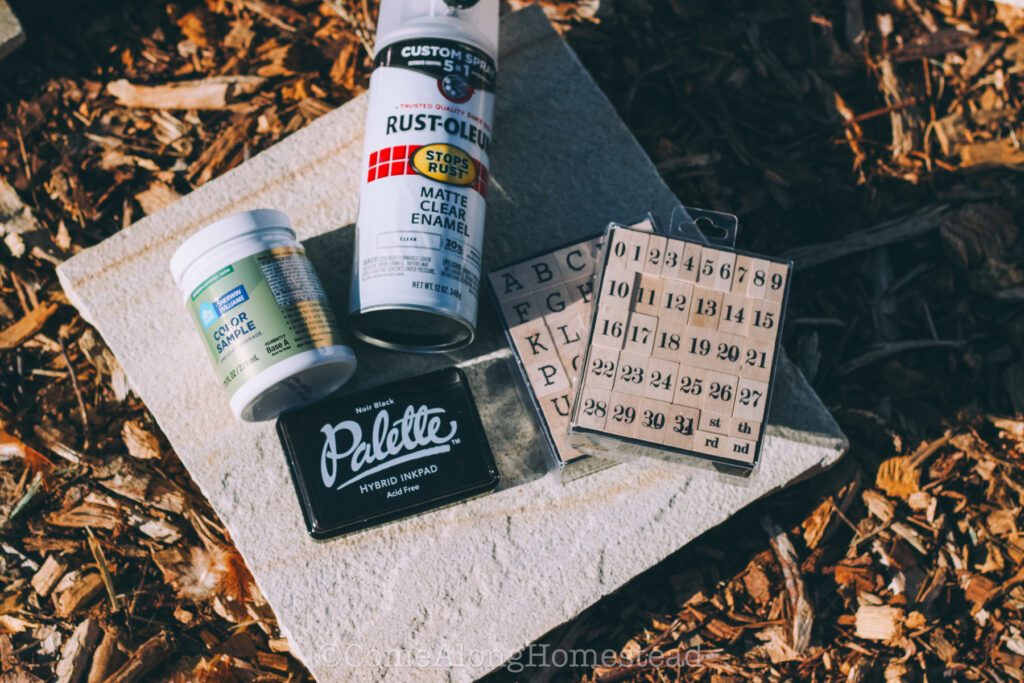
Before you dive in, take a few minutes to gather everything you’ll need. I was pleasantly surprised by how simple—and budget-friendly—this project turned out to be. Compared to the more complicated concrete prints that never seemed to set quite right, this method was much easier and more enjoyable.
I found a 12″ x 12″ concrete paver at our local hardware store for around five dollars, which felt like a steal. It’s sturdy, affordable, and perfect for a keepsake that’s meant to last.
When we got home, I rinsed the stone thoroughly and set it out in the sun to dry. Don’t skip this step—removing all the dirt and grime helps the paint stick and gives you a smoother finish in the end.
Step 2: Paint the Handprints (or Feet!)
Once the stone was dry, it was time for the fun part! I picked up a sample size of classic white outdoor paint (also from our local hardware store), and it ended up being more than enough for several stones. If you’re doing this with multiple kids, one sample goes a long way.
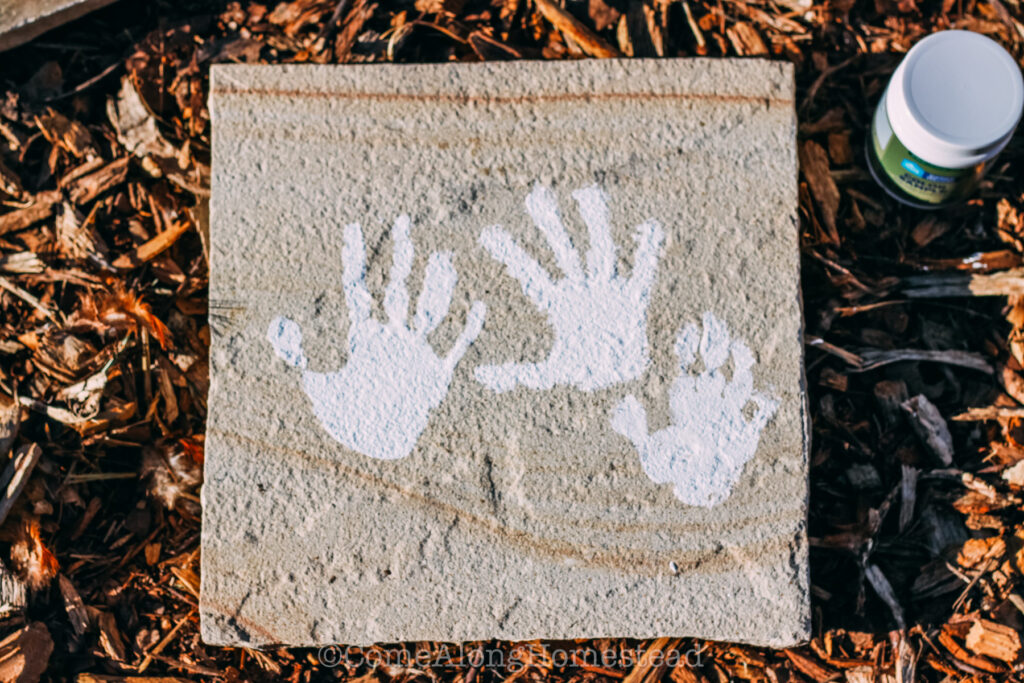
My daughter was so excited. She giggled the entire time I brushed the paint onto her little hand. I used an old paintbrush and applied a thick, even coat to her palm, then helped her press it firmly onto the stone. We got a crisp, defined handprint that dried beautifully in the sun.
Tip
- Press hand firmly but gently to avoid smudging.
- Make sure to supervise kids during painting and sealing—especially when using spray paint.
- Have fun with it! Smudges might happen—but sometimes those little imperfections are what make it even more special. They’re part of the memory, too.
You can absolutely do footprints instead—or even both! For babies or toddlers, little feet can be easier to manage than squirmy fingers. The best part is how adaptable this project is, no matter your child’s age.
After making the prints, we let the stone sit in the sun for about two hours. By then, it was completely dry and ready for the next step.
Step 3: Add Names, Dates, and Sweet Details
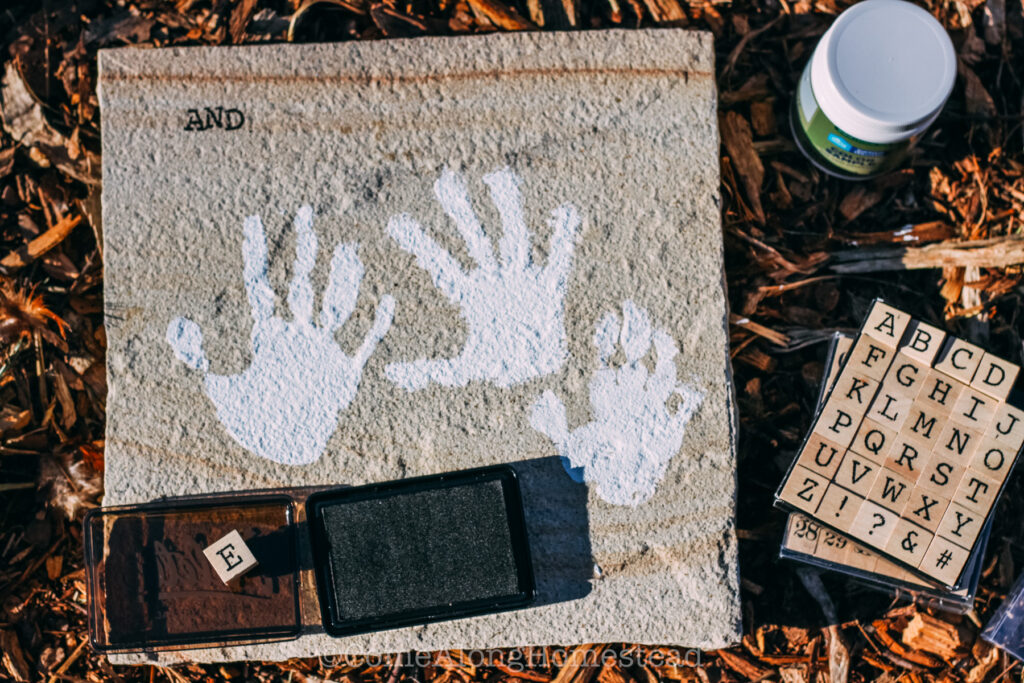
Once the handprints had set, it was time to personalize it. I grabbed a set of small alphabet and number stamps, dipped them in a basic black ink pad, and began stamping the names and date onto the stone.
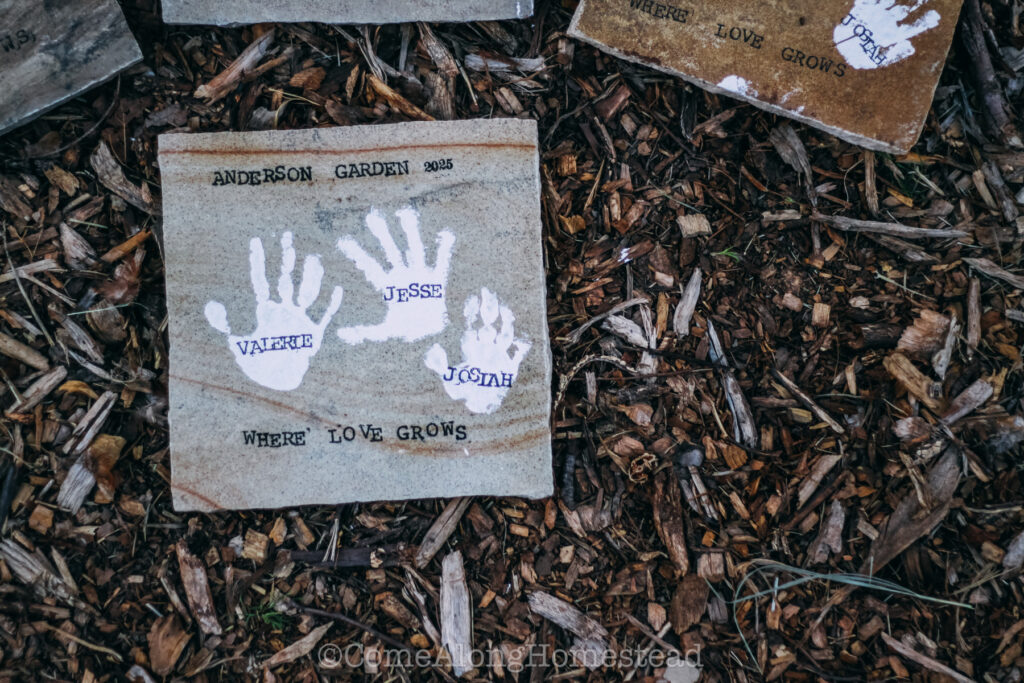
I decided to include each child’s name and the year—it makes it feel like a little time capsule. Every time we walk past it in the garden, we’ll remember just how small their hands were at this age. It’s something I know I’ll treasure for years to come.
Again, I let the stamped stone dry for about two hours. The sun helped everything set nicely.
Step 4: Seal and Protect
To finish it off and make sure it lasts, I used Rust-Oleum’s clear enamel spray to seal the whole stone. I did two light coats, waiting about 15 minutes between each one. This step is important, especially if your stone will live outdoors where it’s exposed to the elements.
After spraying, I let it dry completely before handling. I also plan to reseal it each summer to keep it looking fresh and protected.
A Memory-Making Keepsake You’ll Cherish
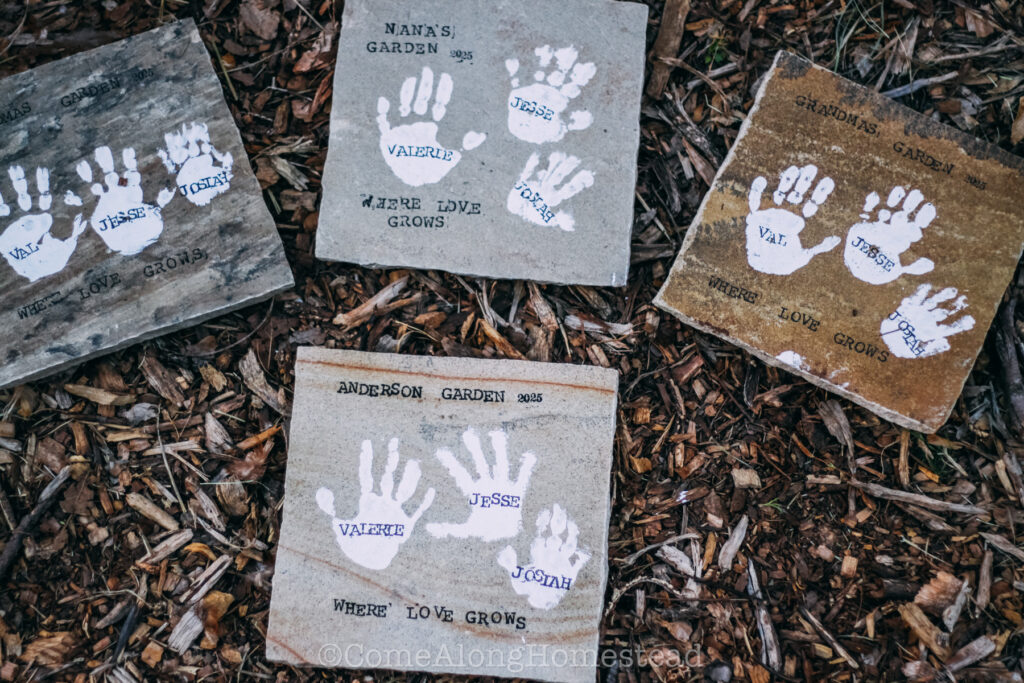
This project ended up being more than just a craft—it was a moment with my daughter that I’ll never forget. She loved being part of it, and I loved seeing her creativity come through. My two boys had fun as well. They kept going back and looking it. It wasn’t just about making something cute for the garden (though it is!), but about capturing a moment in time.
I made several stones—one for each set of grandparents and, of course, one for myself. Everyone was touched by how personal and thoughtful they were.
If you’re looking for a gift that’s meaningful, affordable, and fun to make, I truly recommend giving this a try. It’s not just a stone—it’s a memory you can hold onto.