Chicken Butchering Guide: How To Process 40 Birds in One Day
Disclosure: This post includes images of chickens being butchered. We make it a point to treat and respect our animals with care and kindness throughout their lives and up until the very end. This guide is intended for educational purposes only and does not constitute professional advice. Please ensure you follow all local laws and regulations regarding animal processing. We are not responsible for any outcomes from how this information is used.
Welcome to our Backyard Chicken Butchering Guide! If you’re new to processing chickens, this post shares everything we learned from our first day processing 40 birds — from setup and supplies to tips that made the whole experience smoother and less stressful.
Well… we did it. Our very first chicken butchering day was a big milestone. We spent the day over at our good friends’ place — Pine Crest Family Farm — learning the entire chicken butchering process from start to finish. We even butchered three of our own roos.
As first-generation homesteaders, my husband and I have had to learn almost everything from scratch. Before this day, the only time we’d butchered a chicken was once — just one bird — armed with nothing but a knife, a pot, and a YouTube video. We hand-plucked, struggled through a tough year-old rooster, and made a huge mess in the process.
This time, Pine Crest walked us through the right way to do it and made sure we felt confident enough to handle it ourselves someday.
I’m sharing what we learned here partly so you can benefit from it, and partly so I have it written down for when we set up our own butchering station at home. So kind, right?

Step 1: Preparing Your Chickens
Don’t feed your chickens for a day or two before butchering. This helps make sure there’s little to no food in their crop (although foraging might still give them a little something). An emptier crop means less chance it will bust open during processing, which keeps things cleaner and helps clear out those guts for less messy work.
And if you’re like me and didn’t know what the crop is — it’s a pouch at the base of the chicken’s neck that holds food before it moves down to the stomach.
Step 2: Butchering Setup & Gear
Here’s the setup we used for butchering about 40 chickens — a process that started early and went until about 4 p.m., with six people helping most of the day. It’s a full day’s work, but having the right gear makes all the difference.
This post may contain affiliate links. Please read our disclosure policy.
Our chicken butchering equipment list:
- Kill cone (for safely holding the birds)
- 3 five-gallon buckets (for blood and waste)
- Large stock pot and outdoor stove (for heating scalding water)
- Vevor Mechanical chicken plucker (not necessary but a total game-changer)
- Foldable outdoor table (outside is best—this part gets messy)
- 2–3 large ice chests
- 2 large cutting boards
- 2–4 glass mason jars with lids (for hearts and livers)
- Containers for processed chicken (you can use metal ones like this or just use any pot or pan you have around the home)
- Salt
- Lots of dish towels
- Food-safe cleaning disinfectant (we used Force of Nature)
- Sharp knives
- Apron (optional)
- vacuum sealer and bags (we used a lot of medium size)
Step 3: The Processing Cone (or Kill Cone) Station
We started by grabbing the chickens by the legs and holding them upside down. This is the easiest way to get them into the kill cone.
Every chicken reacts differently, but this is a common technique and it does make the chicken calm down usually.
We placed a five-gallon bucket underneath to catch the blood and the heads. The blood flows out and collects in the bucket, so having something sturdy and large enough is important to keep the area clean and safe.
Interesting fact: After their heads are cut off, the birds will keep flailing and moving. I was definitely caught off guard by this — it was a big “what is going on?!” moment for me. This happens because of their natural spinal reflexes (sometimes called the “post-decapitation reflex”), which cause muscles to twitch and move even without brain signals.
It’s important to keep the bird in the kill cone until these reflexes calm down — that way it’s easier and safer to handle them during the next steps.
Step 4: Scalding for Easier Plucking
The next step is a large stock pot filled with water that’s just under boiling—around 140°F to 160°F (60°C to 71°C) is ideal. You hold the birds by their feet and dip them into the water for about 10-15 seconds. This scalding loosens the feathers, making them much easier to pluck. The key is to loosen the feathers without cooking the skin. If the skin is cooked you’ll have a half cooked chicken and the skin will fall off in the plucker. Definitely not a good situation if that happens.
You can check periodically by gently pulling on the wing feathers — once they come out easily, it’s time to move on to the next step.

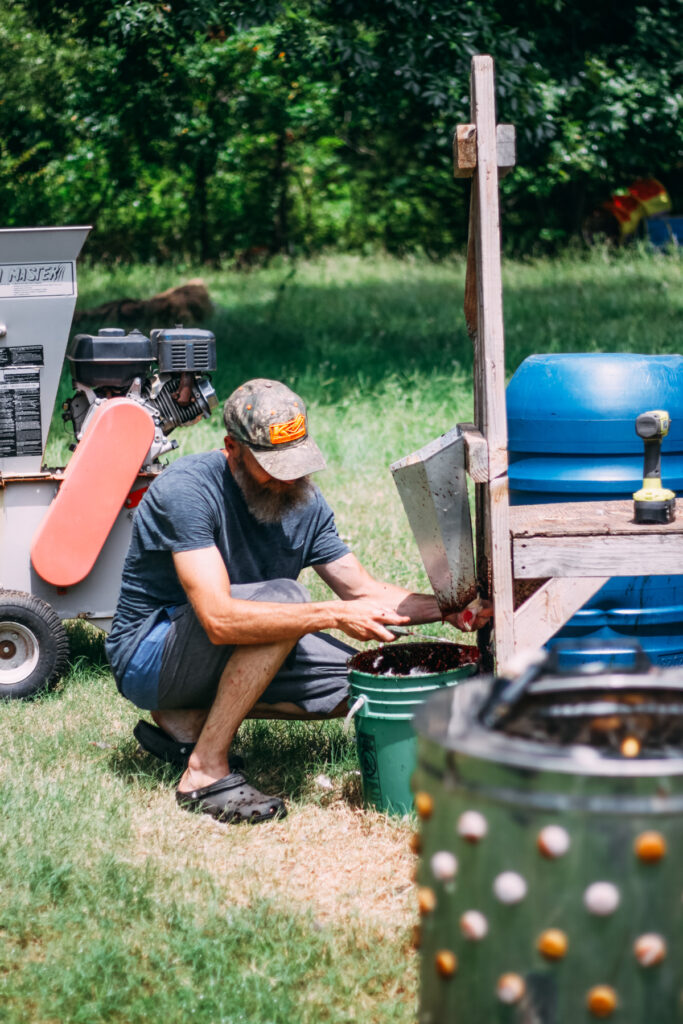
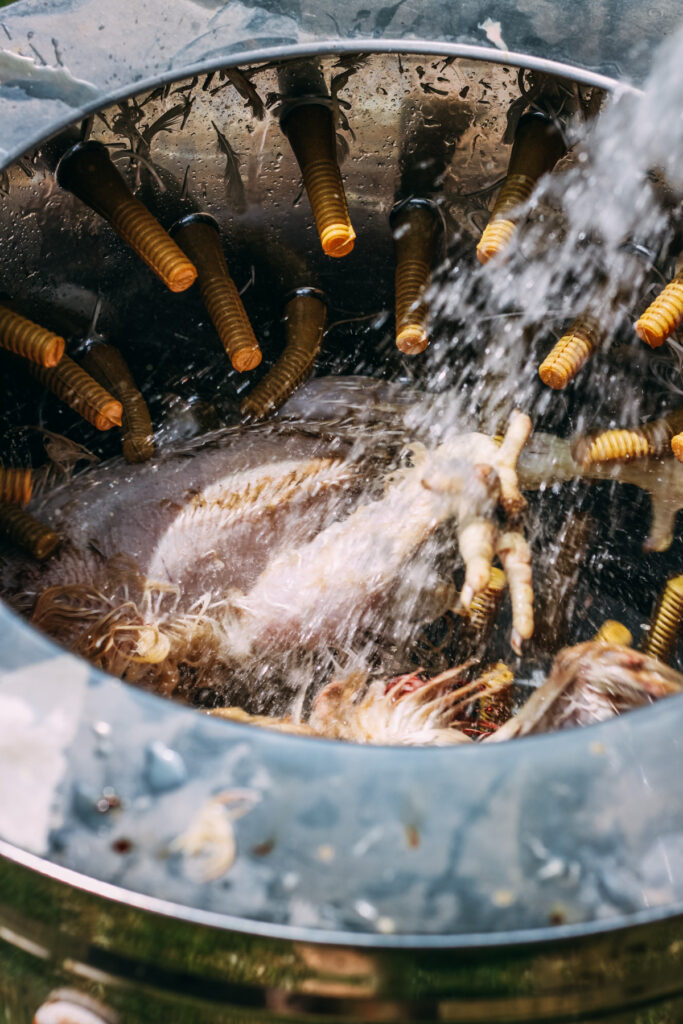
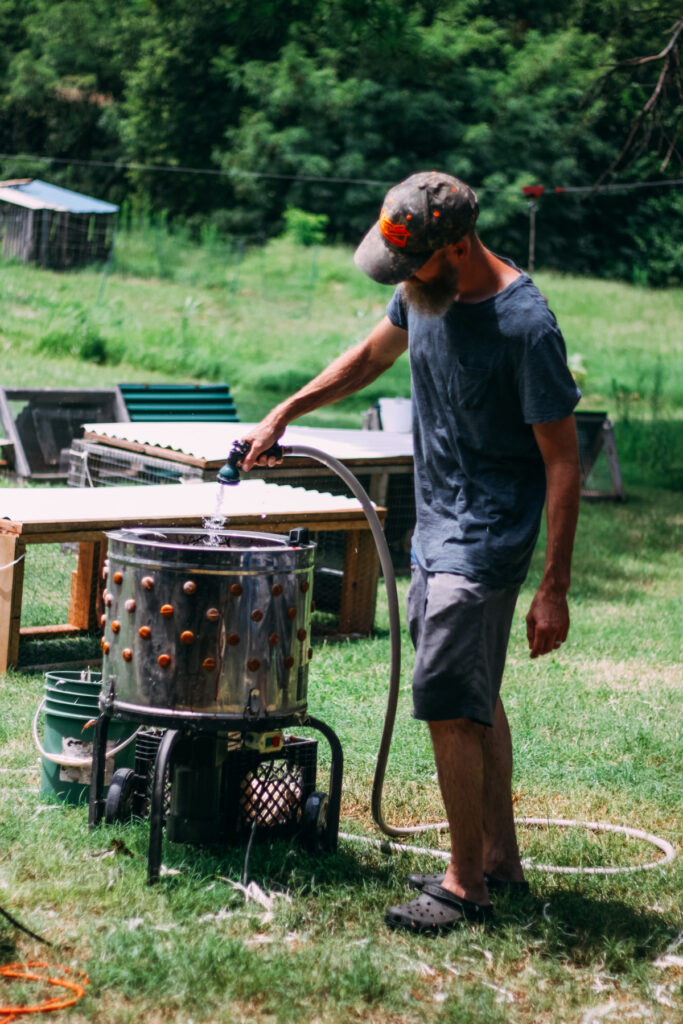
Step 5: Plucking Your Chickens
Now that the feathers are nice and loose, it’s time to put the chickens in the plucker. You can use any method you prefer. We hand-plucked before, which works fine for one or two birds. But with over 40 chickens to process, we used a Vevor mechanical plucker.
It made the whole process much quicker and cleaner, and we highly recommend it if you’re butchering a large number of birds.
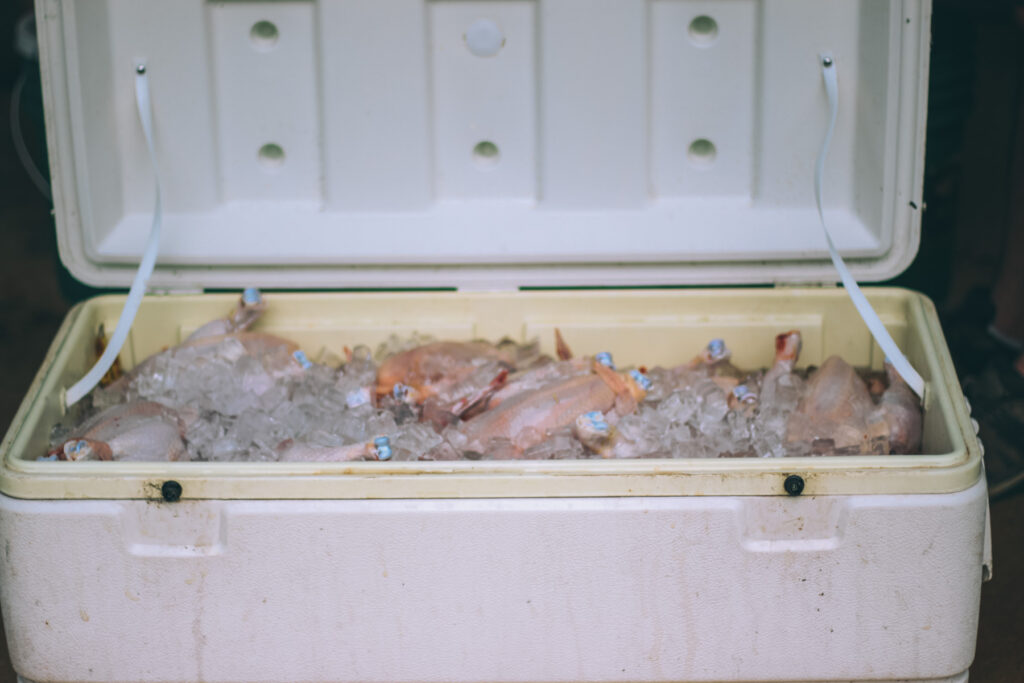
Step 6: Cooling Before Gutting
After the birds are all plucked, stick them in a cooler full of ice water. This cools them down, helps preserve the meat, and makes them nicer to butcher. I don’t know about you, but it’s pretty gross to butcher the inside of a warm bird. Cooling them down made the whole process feel cleaner and less… well, gross.
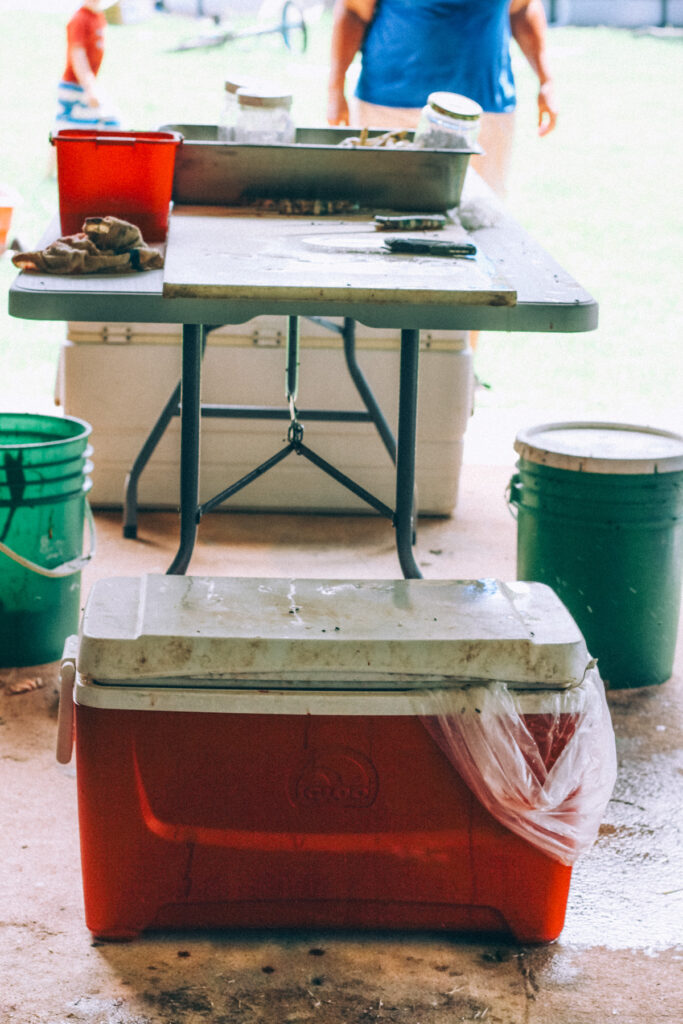
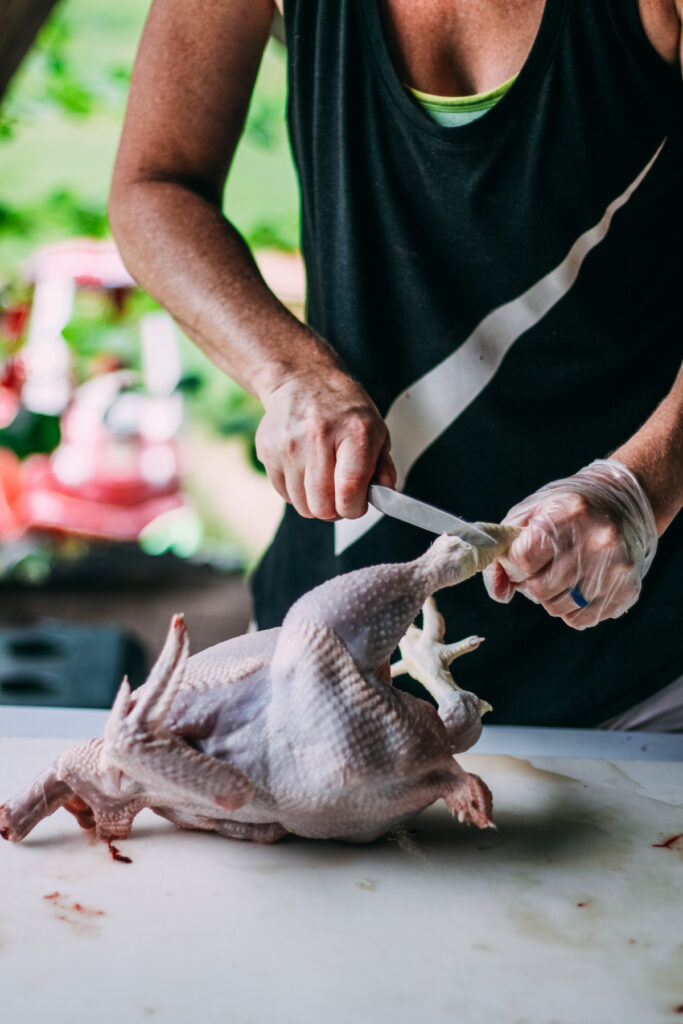
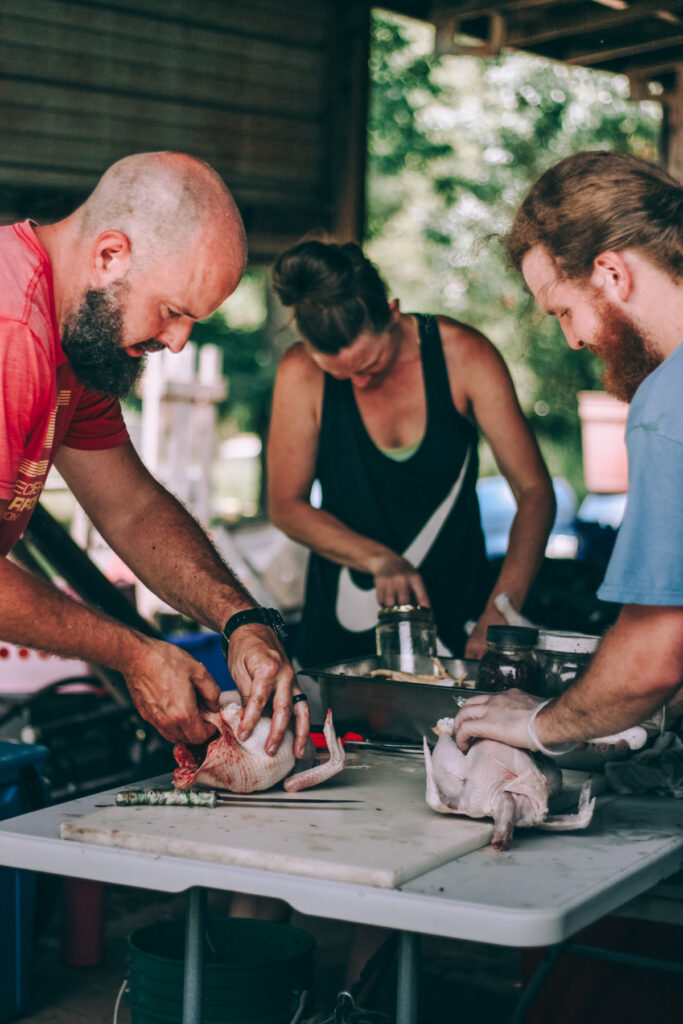
Step 7: The Degutting Station
Do this part outside. It’s so messy and gross—I can’t even imagine what the stink and cleanup would be like otherwise. We set up on a collapsible plastic table with two large cutting boards on either side of the “jar station” (more on that later).
There were also two five-gallon buckets on either side for disposing of the intestines, lungs, trachea, and any other parts we didn’t keep. The “jar station” are jars in the middle which sat on ice and held the hearts and livers we saved to use later.
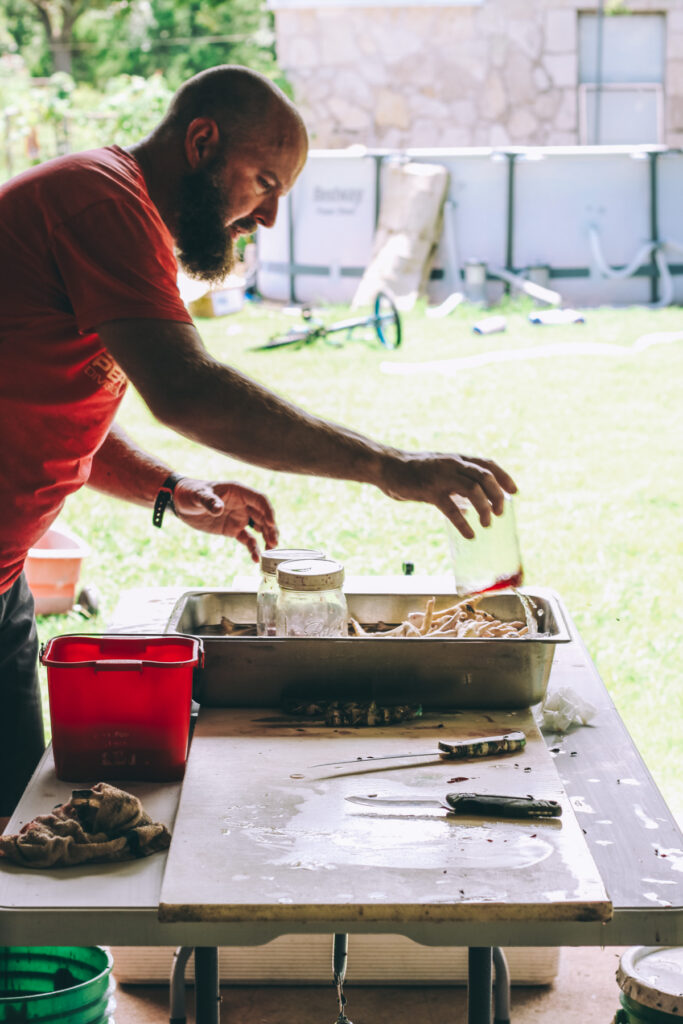
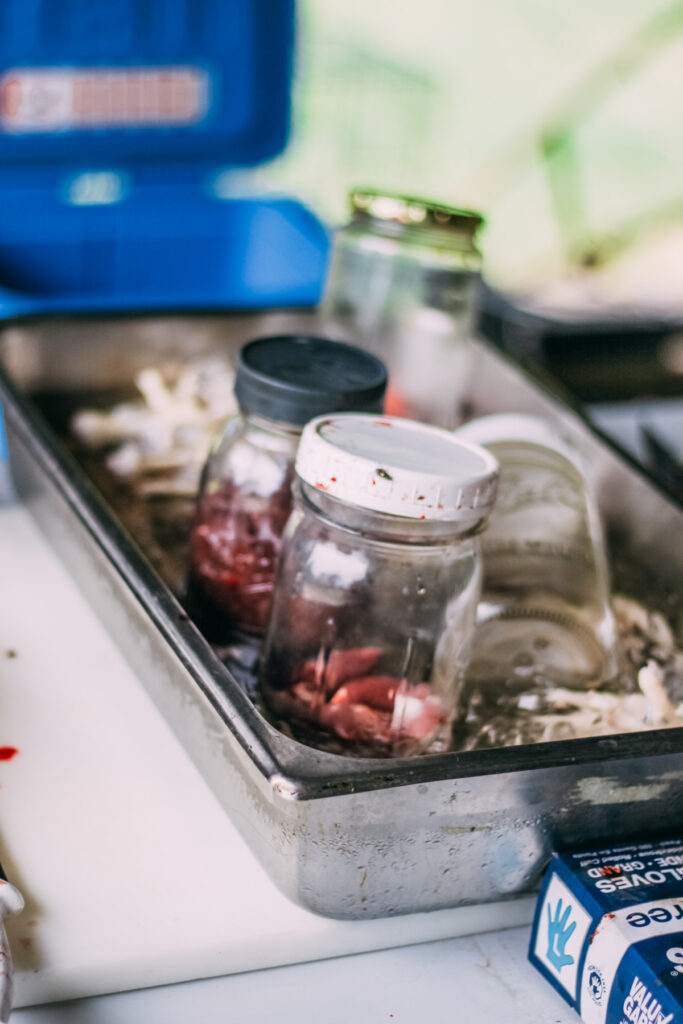
I’m not going to go into all the details here—that could easily be its own blog post—but this step is all about degutting and making sure the liver stays intact without the gallbladder bursting and causing a huge mess.
This is where we used tons of washcloths and Force of Nature cleaner, especially anytime there was poop, gallbladder juice, or crop mess.
After all this, you’re left with everything edible. Once degutted, it’s time to put the chickens in a brine.
Step 8: Brining After Gutting
This was a super smart step I wouldn’t have thought of on my own. After degutting, we put the chickens in a brine solution on ice and let them sit there until all the birds were gutted. This helped a ton with flies and odor, and it also preserved the chickens while we moved inside for the next steps.
Step 10: Cutting & Separating
We moved inside to enjoy the nice air conditioning for the rest of the chicken shenanigans. This is where we learned how to properly cut and separate the legs, wings, breast, and more. The cutting boards were cleaned and brought inside for this part as well.
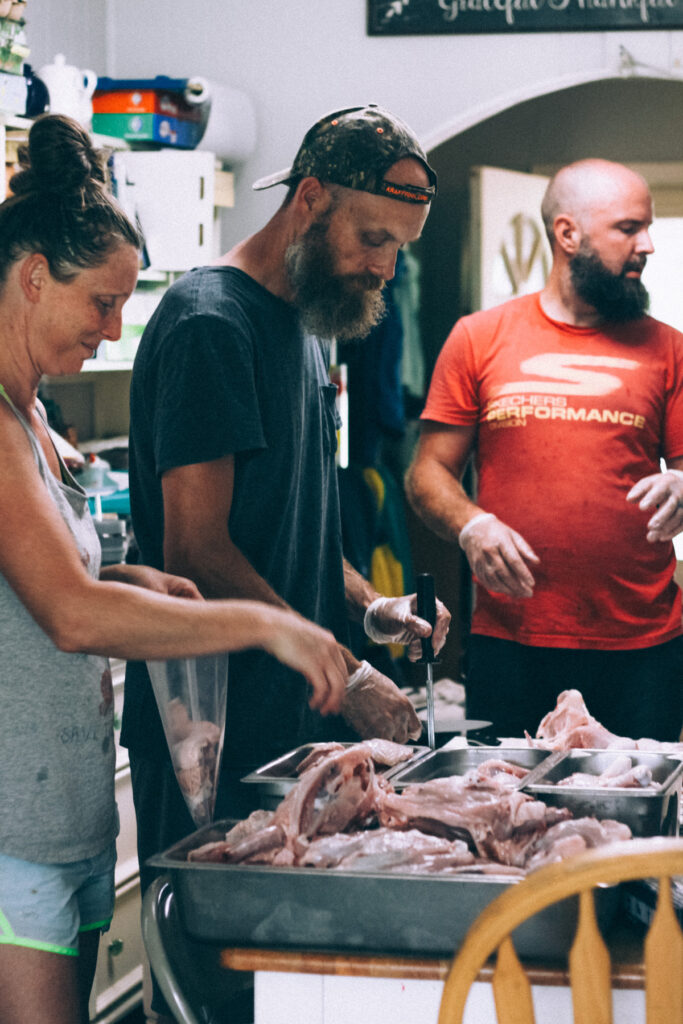
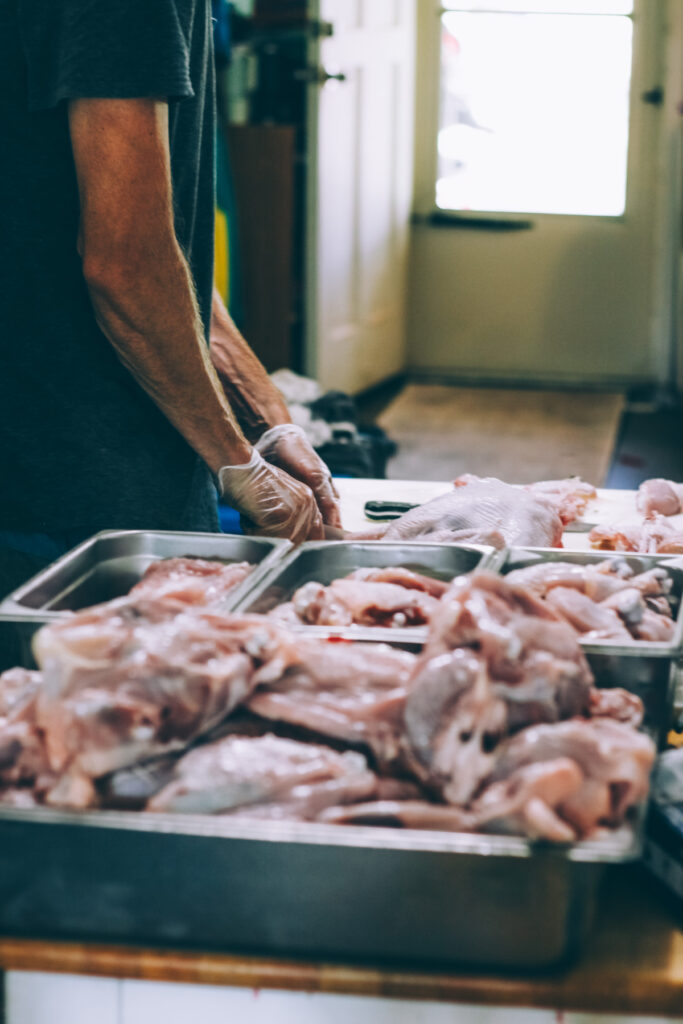
This whole section could easily be its own blog post, so I won’t get into the details of every cut and how-to. But having bins to separate everything made packing and sealing the pieces for meals much easier.
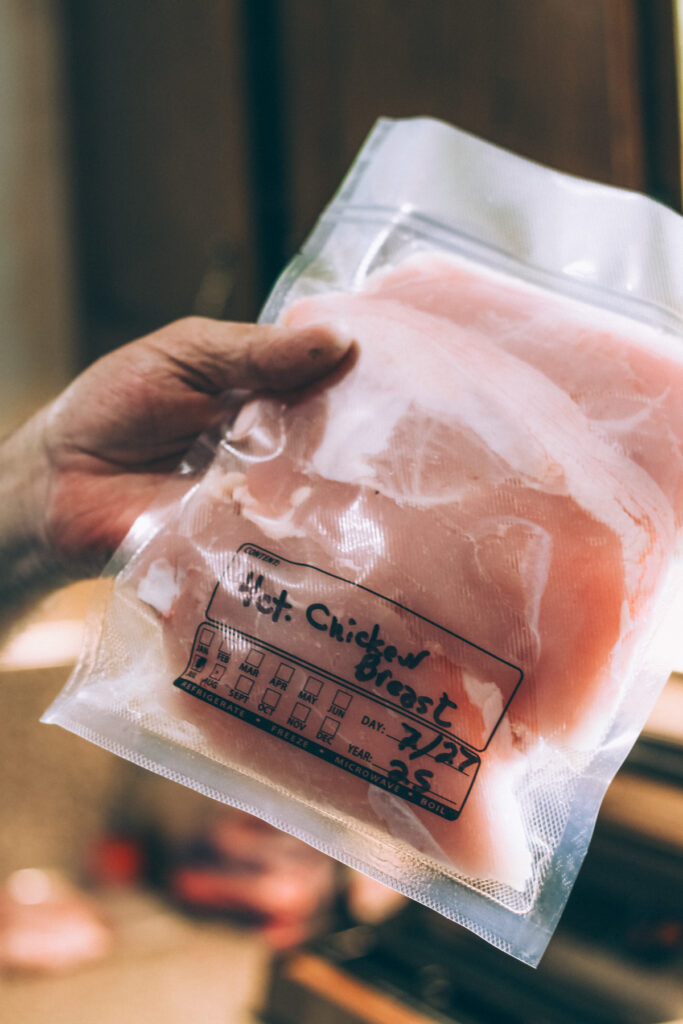
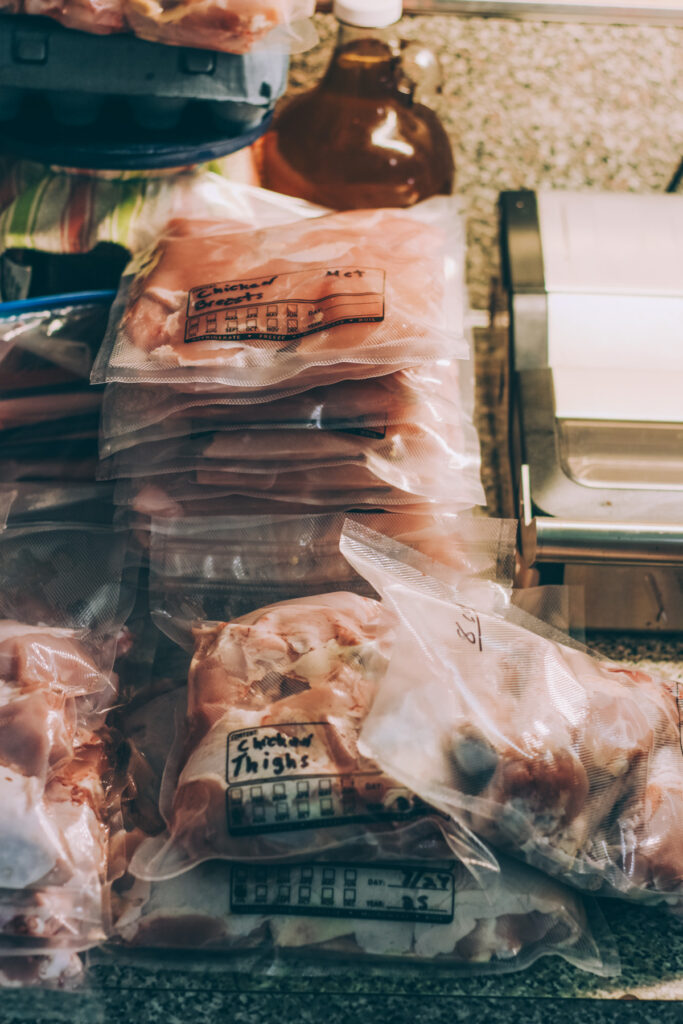
Step 11: Freezing & Storage
This is the last step—hurrah! Now all the chicken is processed and ready to be portioned into bags, separated for meals, and sealed for the freezer.
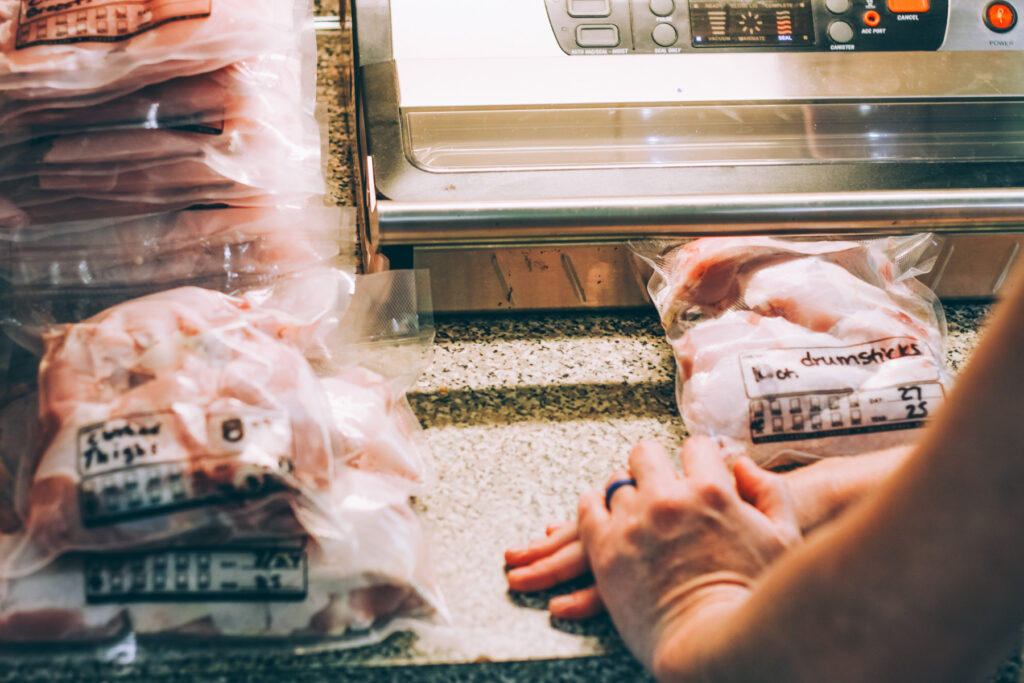
We used a heavy-duty vacuum sealer from Cabela’s that was an absolute workhorse.
The bones, feet, and tips were saved too for making broth later.
Final Thoughts
If you’ve never set up for chicken processing before, it can feel overwhelming — trust me, I get it. But having the right gear laid out in the right order makes everything run so much smoother.
Our first butchering day was long, messy, and honestly a little intimidating, but with good friends, a solid setup, and plenty of helping hands, it was also incredibly rewarding.
Whether you’re processing just a few backyard chickens or tackling a big batch, I hope this guide and equipment list helps you feel more prepared and confident.
You can absolutely do this — one step, one bird, one mess at a time.
Interested In When & How To Clean a Chicken Coop?