How To Propagate Elderberry in 5 Simple Steps
If you’re looking to grow elderberries at home, whether for making elderberry syrup or simply to enjoy the plant’s many benefits, this guide will walk you through the process. From sourcing healthy cuttings through local exchange groups to preparing them with a vinegar solution for rooting, you’ll have everything you need to start your own elderberry garden. And the best part? It’s a simple, rewarding process that doesn’t rely on harmful chemicals.
Step One: Find Your Elderberry Branches
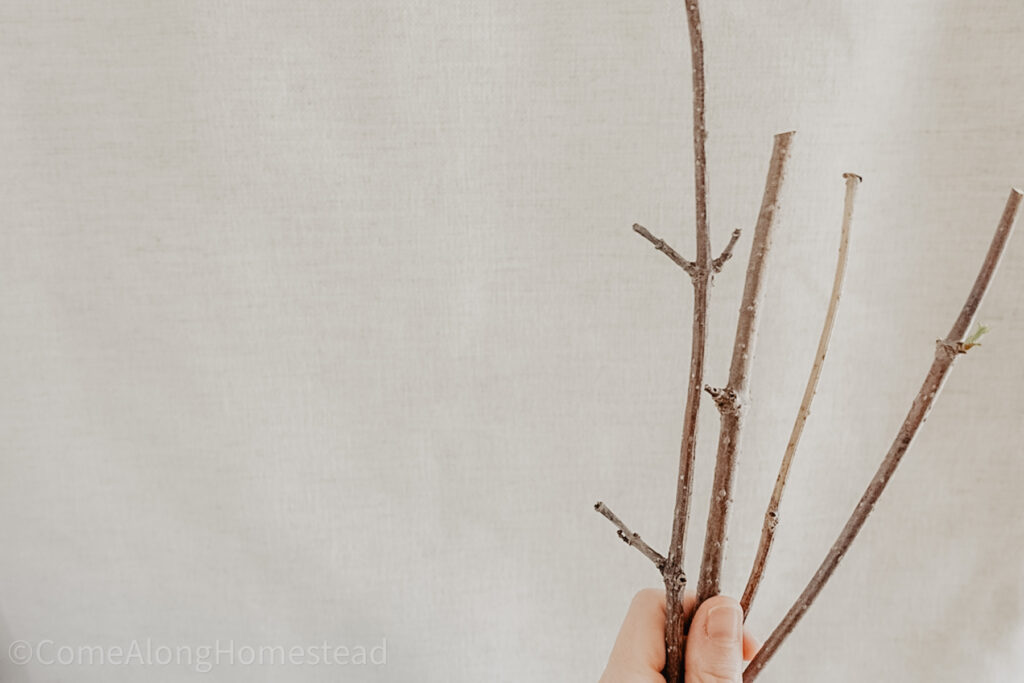
To start, you’ll need to source your elderberry branches. These are typically cut or pruned from a dormant plant, and I was fortunate enough to get mine just a couple of days ago at the end of February. If you’re looking for cuttings, I highly recommend joining a local plant exchange or swap group—Facebook is a great place to find these communities. Not only is it a wonderful way to connect with others, but you can often get free plants as well.
Since we’ve only been on this property for five months, I didn’t have anything to trade yet. However, I was lucky enough to receive some elderberry cuttings from a generous local. Community exchanges like this are such a blessing. If you need to purchase cuttings, buying locally is always a smart choice. Local plants are already acclimated to the weather and soil, making them more likely to take root and thrive with less effort on your part. Plus, supporting local growers and communities helps foster a sustainable, resilient environment for everyone.
Step Two: Gather Your Supplies
You’ll need a few things to get started:
- Pruning scissors
- Apple cider vinegar
- Glass jars or any container that can hold the cuttings
- Water
- Your elderberry branches
Tip: Clean your pruning scissors thoroughly before cutting. There’s a chance that trees could transfer diseases to each other through dirty tools, so it’s always a good idea to sanitize. I soaked mine with a water and vinegar solution for a few minutes after scrubbing them down with water, then dried them with a clean towel.
Step Three: Prepare Your Cuttings
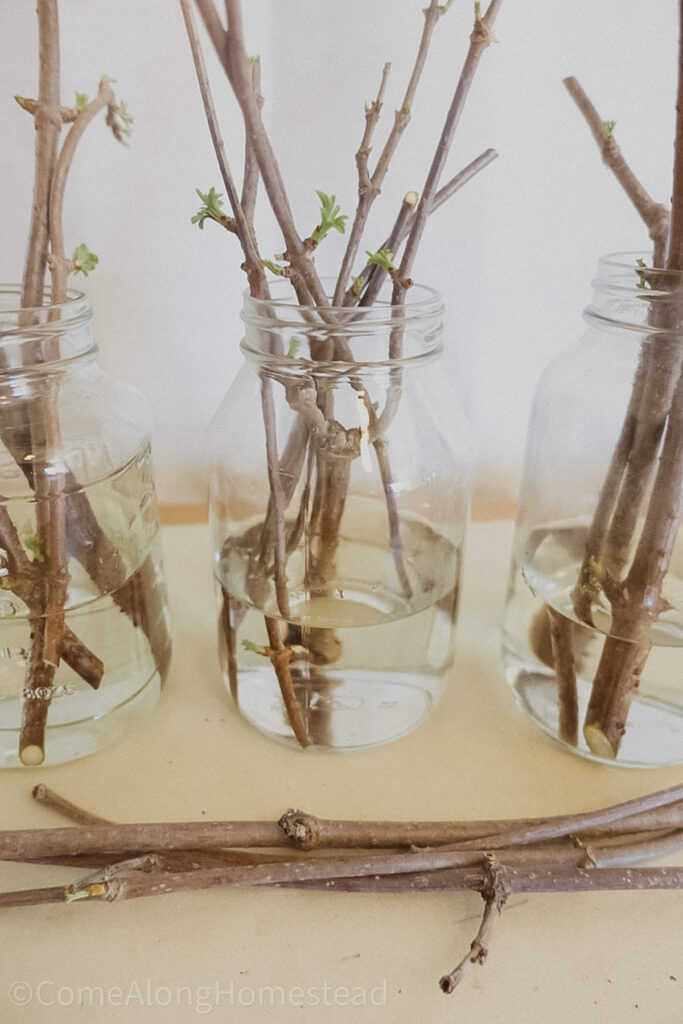
Once you have your branches, examine the buds along the stem. These small “nubs” will eventually grow into new plants. Elderberry branches typically have buds on opposite sides, and you can either count them as two sets or four individual buds.
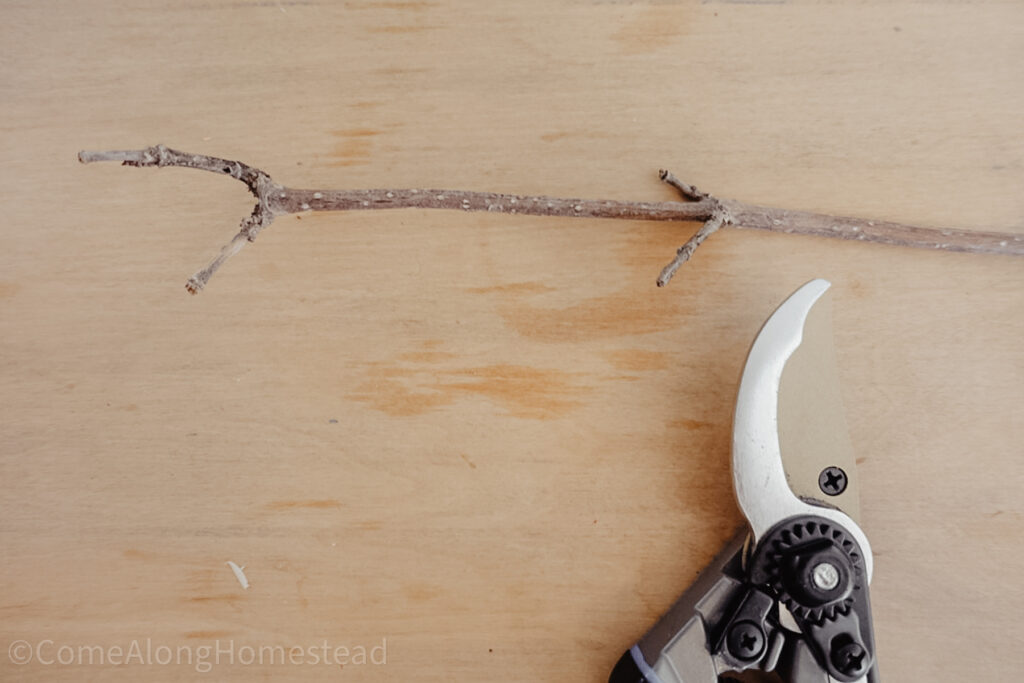
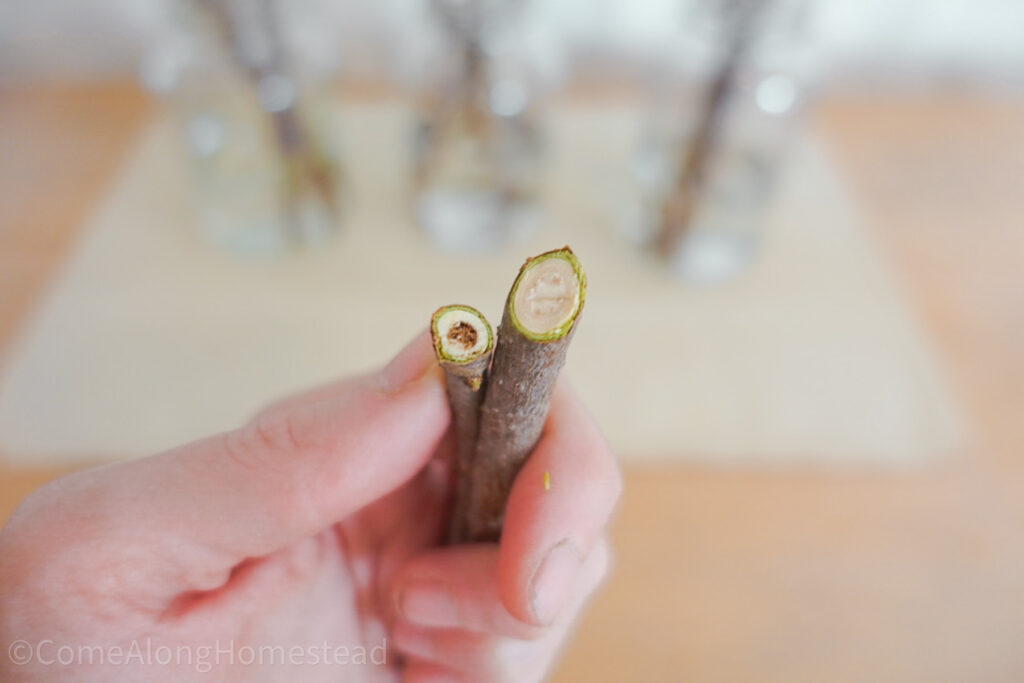
I usually make my cut just below the second set of buds, about an inch below the bottom one, at a slight angle. The angle helps the cutting absorb nutrients more effectively as it begins to root. Some say the angled cut helps you identify which end to place in the water, but I didn’t find this necessary since the buds naturally face upward. You can easily tell the top from the bottom by checking which direction the buds are pointing.
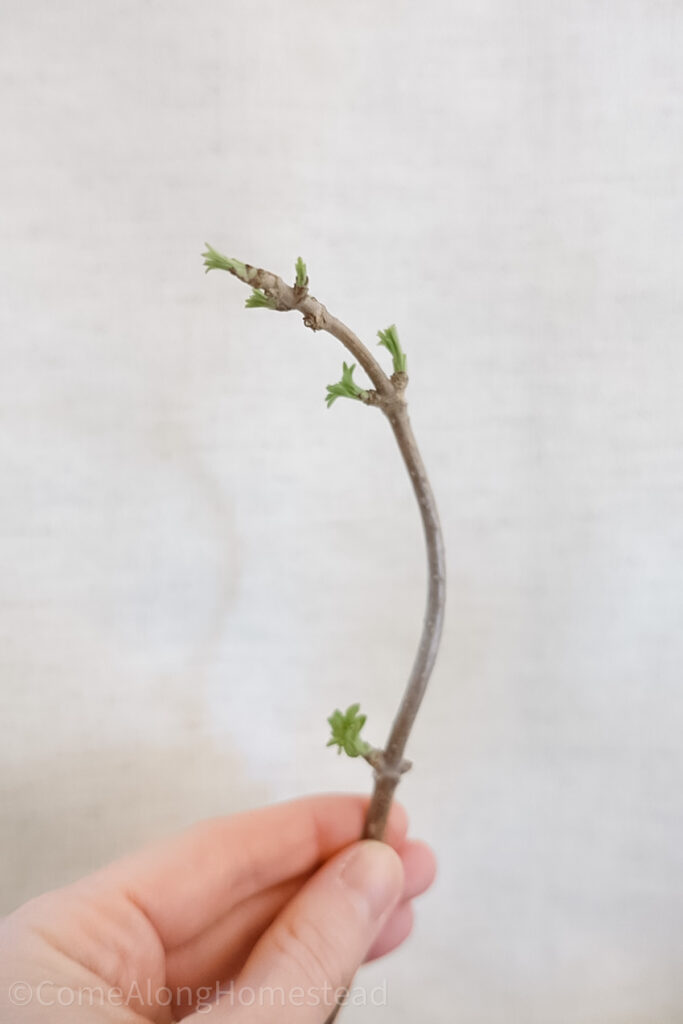
While making your cuts, take a moment to inspect the inside of the branch. If you notice any black spots or signs of damage or disease, set those cuttings aside for composting later. Starting with healthy plant material is key to success.
Step Four: Clean Your Cuttings
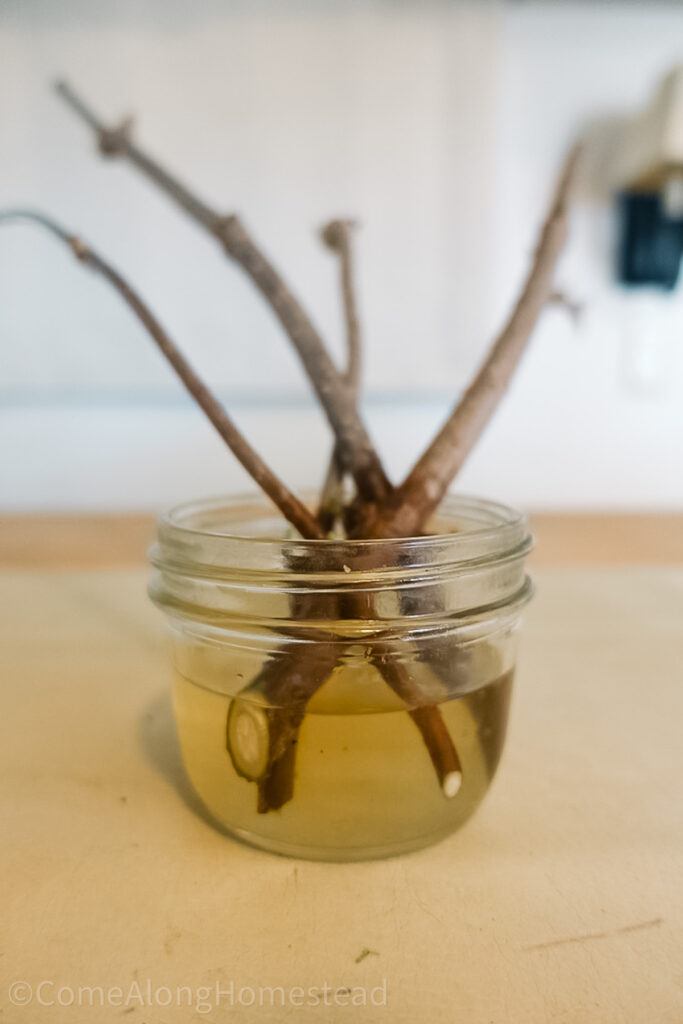
Once you have your cuttings, dip the bottom ends in an apple cider vinegar/water solution for a couple of minutes. You’ve probably heard of this method for preserving food—dipping it in a vinegar solution to eliminate bacteria and extend freshness. It works the same way here. While white vinegar is commonly used, I had apple cider vinegar on hand, and it does the job just fine. The vinegar solution helps ‘clean’ the bottom of the cutting and prepares it for rooting.
Why am I not using rooting hormones or rooting gel? By sticking to natural methods—like using clean cuttings, water, and vinegar—I avoid introducing unnecessary chemicals. Plants have been successfully propagated for hundreds of years without rooting hormones, and it’s still not necessary today. Plus, it’s also an extra expense you just don’t need to spend.
Step Five: Rooting the Cuttings
After cleaning your cuttings, place them in a jar of water, ensuring the bottom is submerged. Set the jar in a sunny spot. I keep mine on my dining table as a centerpiece, which not only looks nice but allows me to easily monitor the growth of the roots. Over the next few weeks, you should start to see roots forming. Once the roots are well-established and you’re confident that the last frost has passed, you can plant the cuttings in the ground with nutrient-rich soil.
And that’s it! Growing elderberries from cuttings is a simple and rewarding process, and I can’t wait to watch these plants thrive on our property. I’m still figuring out where I should plant mine so if you have any tips or tricks I would love to hear it. I’ll be sure to keep you all updated on their progress. Happy planting!