How To Make A Long Lasting Barrel Fire
This post may contain affiliate links. Please read our disclosure policy.
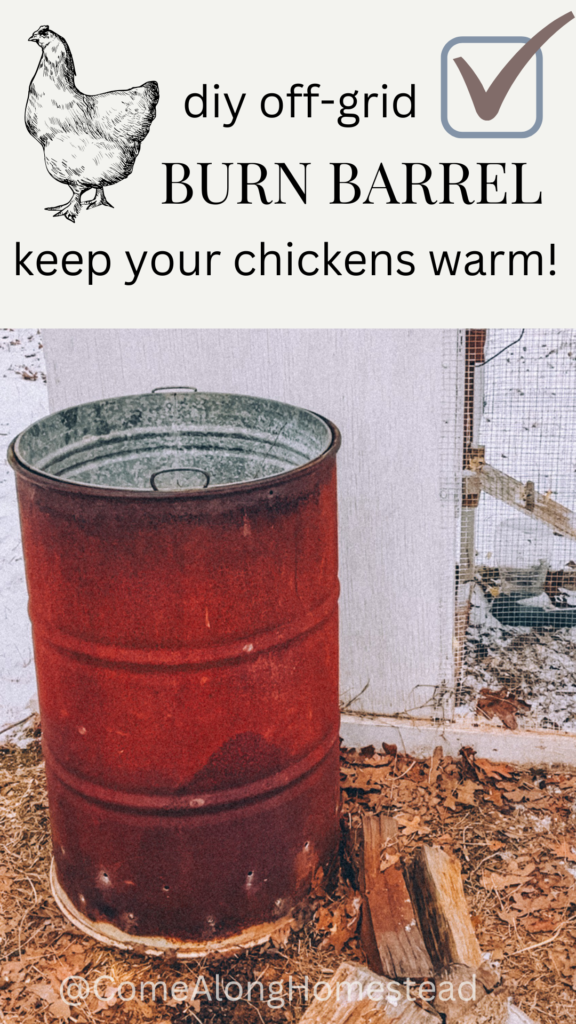
If you’re looking for an off-grid way to keep animals warm in freezing temperatures, this DIY metal barrel heater is a simple, cost-effective solution. Unlike electric heaters, this method is low-maintenance, inexpensive, and reliable, even in harsh winter conditions.
Why Choose a Metal Barrel Heater?
Keeping animals warm in winter can be challenging, especially in remote areas without electricity. A metal barrel heater traps and radiates heat, making it ideal for off-grid homesteads, farms, and rural properties. Plus, it repurposes materials that might otherwise go to waste.
Step 1: Choose a Safe, Food-Grade Metal Barrel
Start by sourcing a food-grade metal barrel. Whatever you do, steer clear of barrels that have previously hosted chemicals or hazardous materials—unless you’re aiming for a new hobby as a human chemistry experiment. You can find them at farm supply stores, online marketplaces, or scrapyards. We scored our 55-gallon metal drum on Facebook Marketplace for a steal. Just remember—it’s crucial to keep it food-grade. You don’t want to burn anything toxic that could harm you or your flock.
Step 2: Improve Airflow with Ventilation Holes
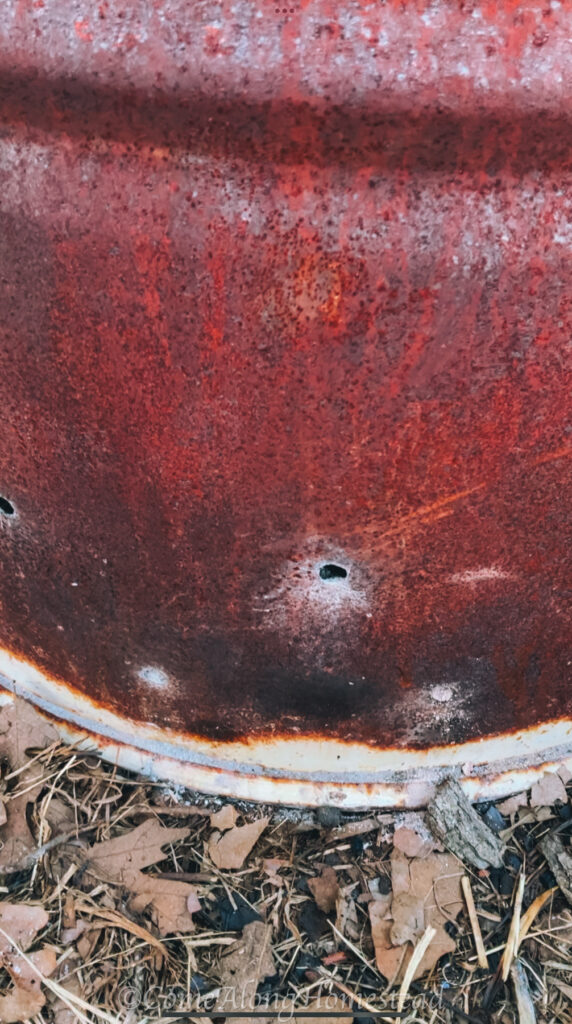
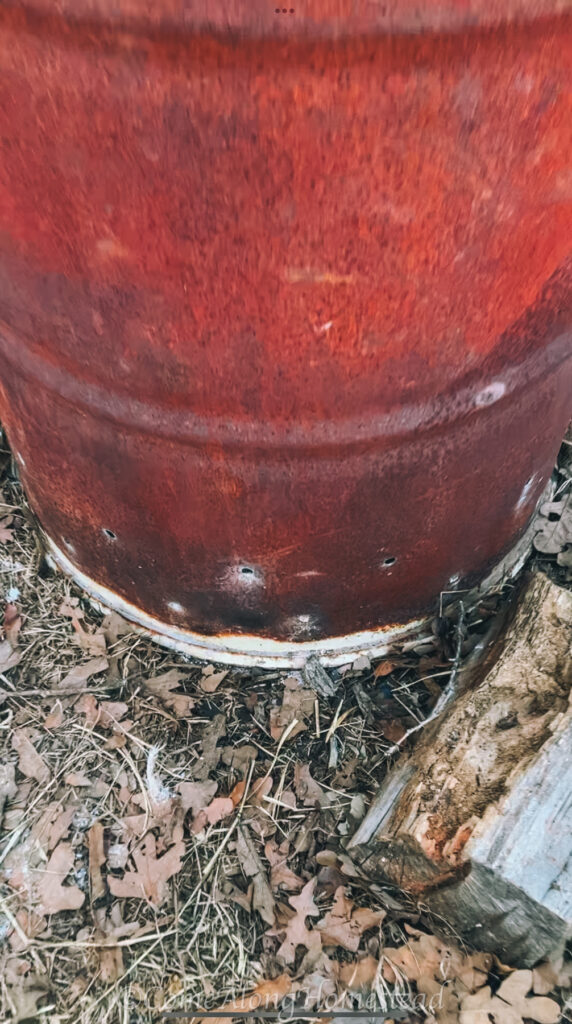
For efficient burning, oxygen flow is essential. Drill small holes around the bottom of the barrel. We did our about three inches and eight inches up, to improve airflow. Keep the holes small enough to allow circulation without excessive heat loss.
Step 3: Add Heat-Retaining Materials
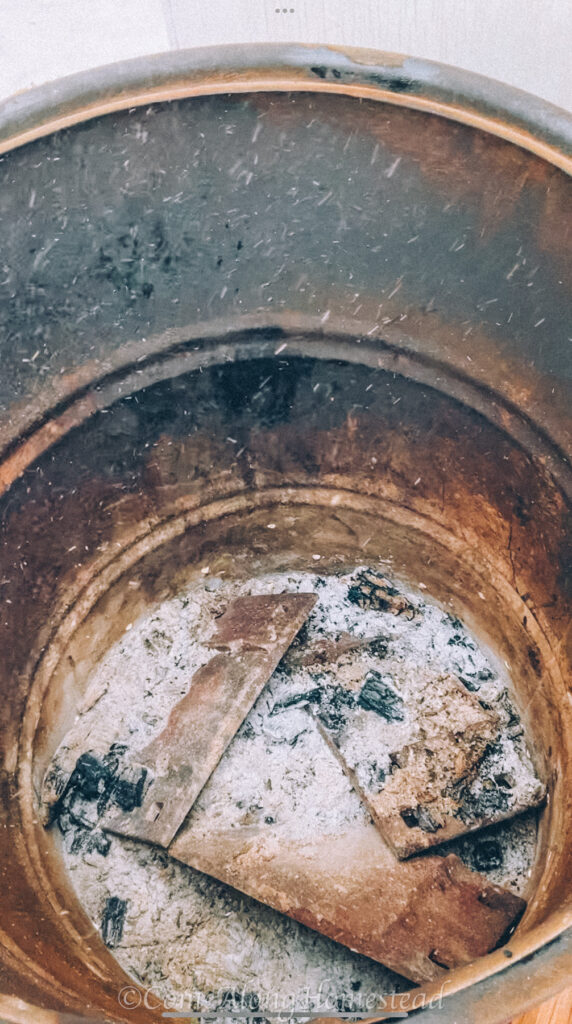
To maximize heat retention, place thick metal pieces inside the barrel. We used metal railroad plates we found near the tracks. Fire bricks or heavy-duty cast iron work just as well. These materials absorb and release heat gradually, keeping the heater warm longer.
Step 4: Use the Right Kindling and Fire Starter
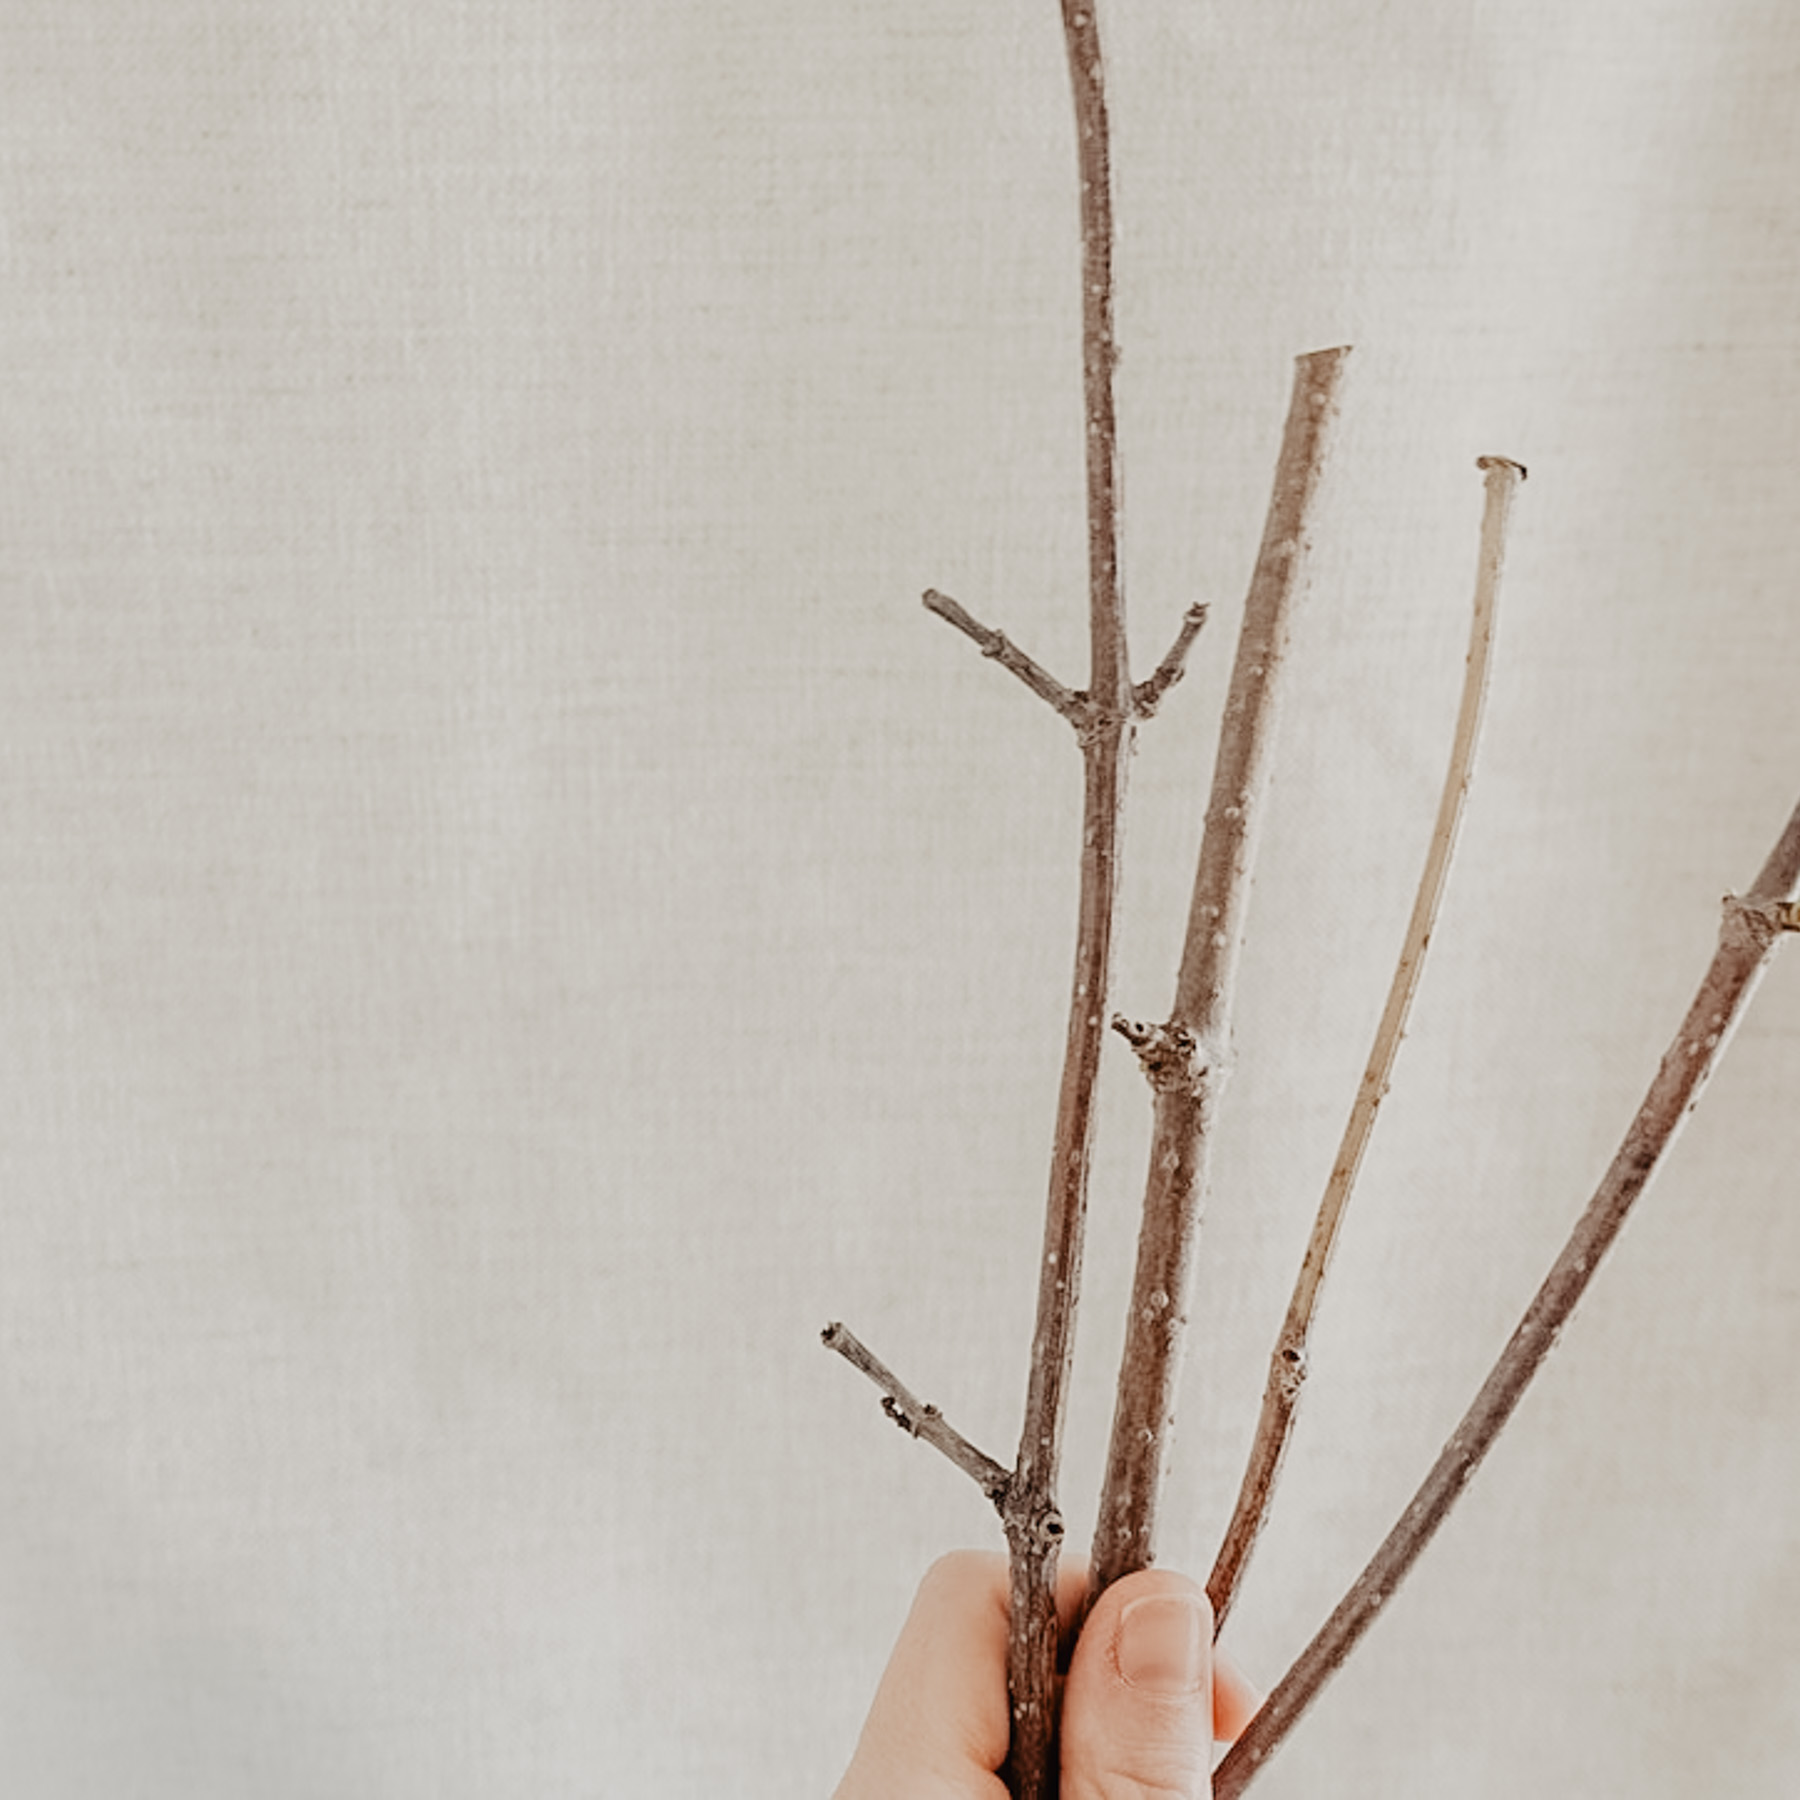
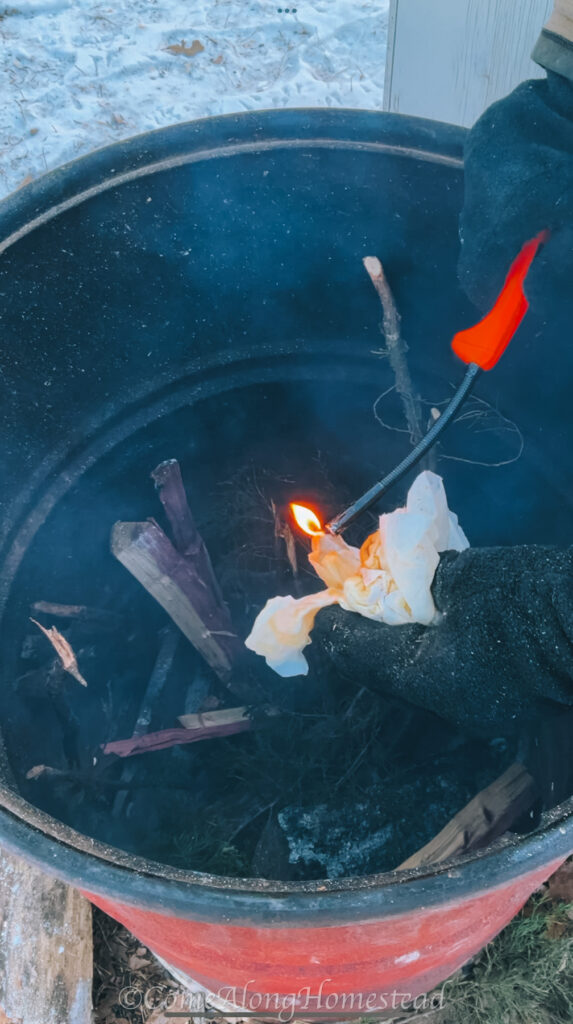
Start with small twigs and cedar since they catch fire quickly. For an easy fire starter, use grease-soaked paper towels from cleaning cast iron pans. Store them in a sealed glass jar for convenience. Other options include dry leaves, pine needles, or natural fire starters like fatwood. Avoid inked or glued paper to prevent toxic fumes.
Step 5: Use Dry Wood for Clean Burning
Once the fire is going, add larger dry wood logs. Hardwood like oak, hickory, or maple burns longer and provides more consistent heat with less smoke than softwood.
Step 6: Retain Heat for Over 12 Hours
For extended warmth, let the fire burn down to hot, glowing embers. Covering the barrel with a round galvanized tub planter traps heat while keeping out snow and rain. A 22″ round galvanized tub fits perfectly on ours. Be sure to measure yours for a proper fit. If your metal drum has a fitted lid, that works too. With this setup, our barrel stays warm for over 12 hours. By morning, it radiates heat up to two feet away.
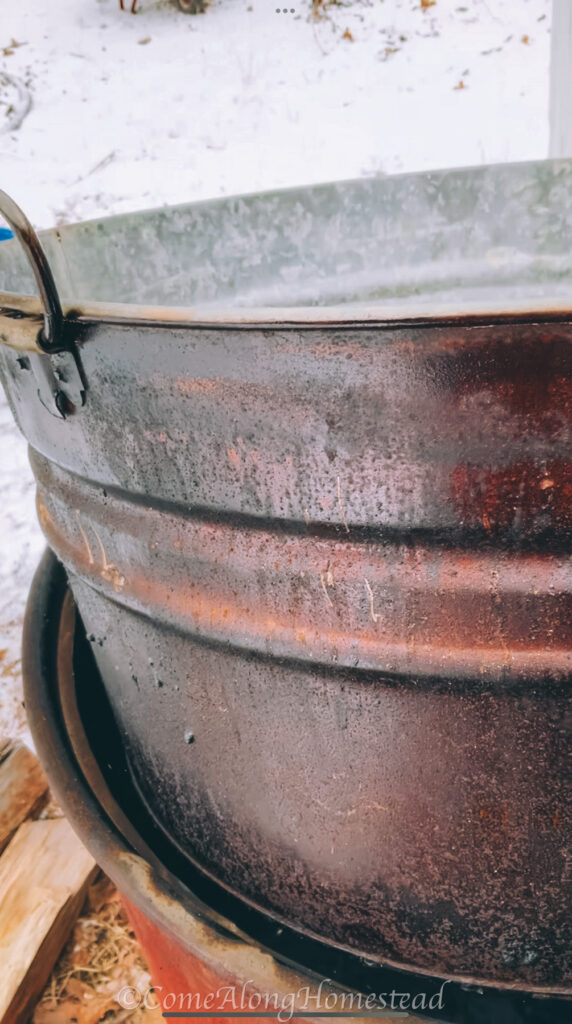
For extra heat retention, place large rocks around the barrel. They absorb heat and continue radiating warmth after the fire burns out.
Step 7: Position the Heater Near Your Chicken Coop
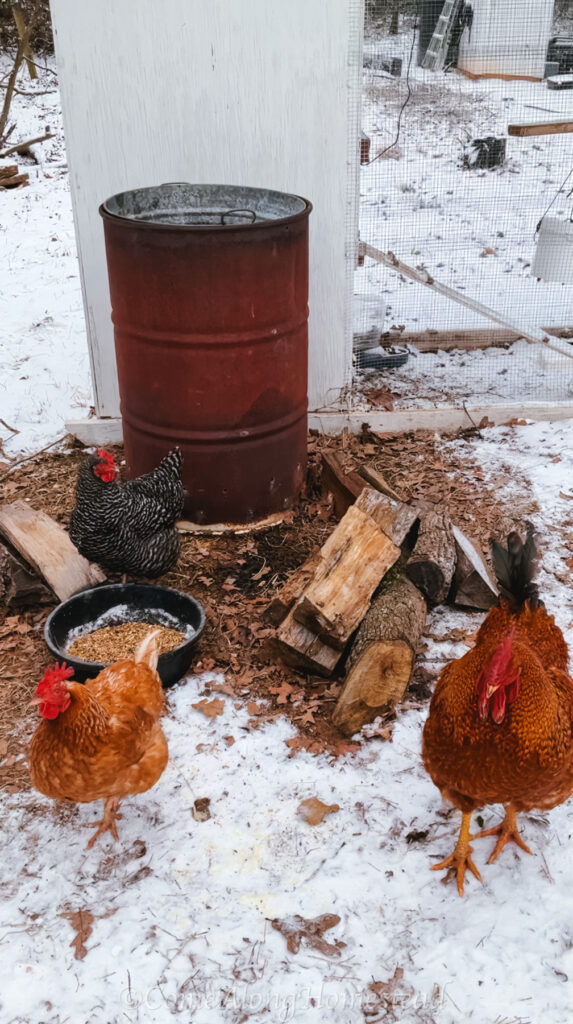
We place our heater beside the chicken coop to keep our flock warm on cold nights. This setup ensures warmth without the risks of electrical heating elements. If using this for other animals, position it safely so they benefit from the heat without risk of burns.
For larger coops or barns, use multiple heaters or place reflective materials, such as a metal sheet, behind the heater to direct warmth toward your animals.
Maintenance and Safety Tips
- Regularly check the barrel for wear, rust, or damage.
- Clean out ash and debris after several burns to maintain airflow.
- Ensure proper ventilation in your coop to prevent smoke buildup. If placing the heater inside, start the fire outside and move the barrel in once the flames have died down to embers with the cover in place. We keep ours outside since our coop is too small.
- Never burn treated wood, plastic, or trash, as they release harmful fumes.
Tip: Don’t place wood near the burn barrel—it gets hotter than your favorite summer BBQ! We thought we had it far enough away, but turns out, this burn barrel is like the sun’s little cousin. We luckily noticed it before it turned into a bonfire, but seriously, don’t test it. Keep your wood at a safe distance, or it’ll be a hot mess!
Final Thoughts
By following these steps, you’ll create an affordable, eco-friendly, and efficient off-grid chicken coop heater. Keep those chickens warm folks!